Autumn Breeze Linen Quilt
November 1, 2022
This linen quilt evokes the memories of a clear autumn day, with leaves dancing in the air. Making quilts with linen can be a little tricky, but the instructions will help you succeed!
What you need:
- Embroidery file
- Clear blue linen squares 8”x 8” (20x20cm)
- Tear away stabilizer
- Linen for the frames 16”x55” ( 40x140cm)
- Fusible thin batting 33”x33” (85x85cm)
- Fabric for back and hanging sleeve corners 42”x33” (105x85cm)
- Fabric for binding 10”x44” (25x112cm)
- Quilt basting spray (optional)
Stitch out the embroidery
Hoop the stabilizer. Load the embroidery in the hoop. Choose basting around the embroidery
Stitch out the basting stitches on the stabilizer. Place the linen square on top of the basting line, extending at least ¾” (2cm) from the basting stitches.on all sides. Secure with masking tape in the corners
Jump to color 5 on the embroidery and stitch out the rest of the embroidery. Unhoop, turn wrong side up and cut the fabric and tearaway stabilizer ⅜” (1cm) from the edge.
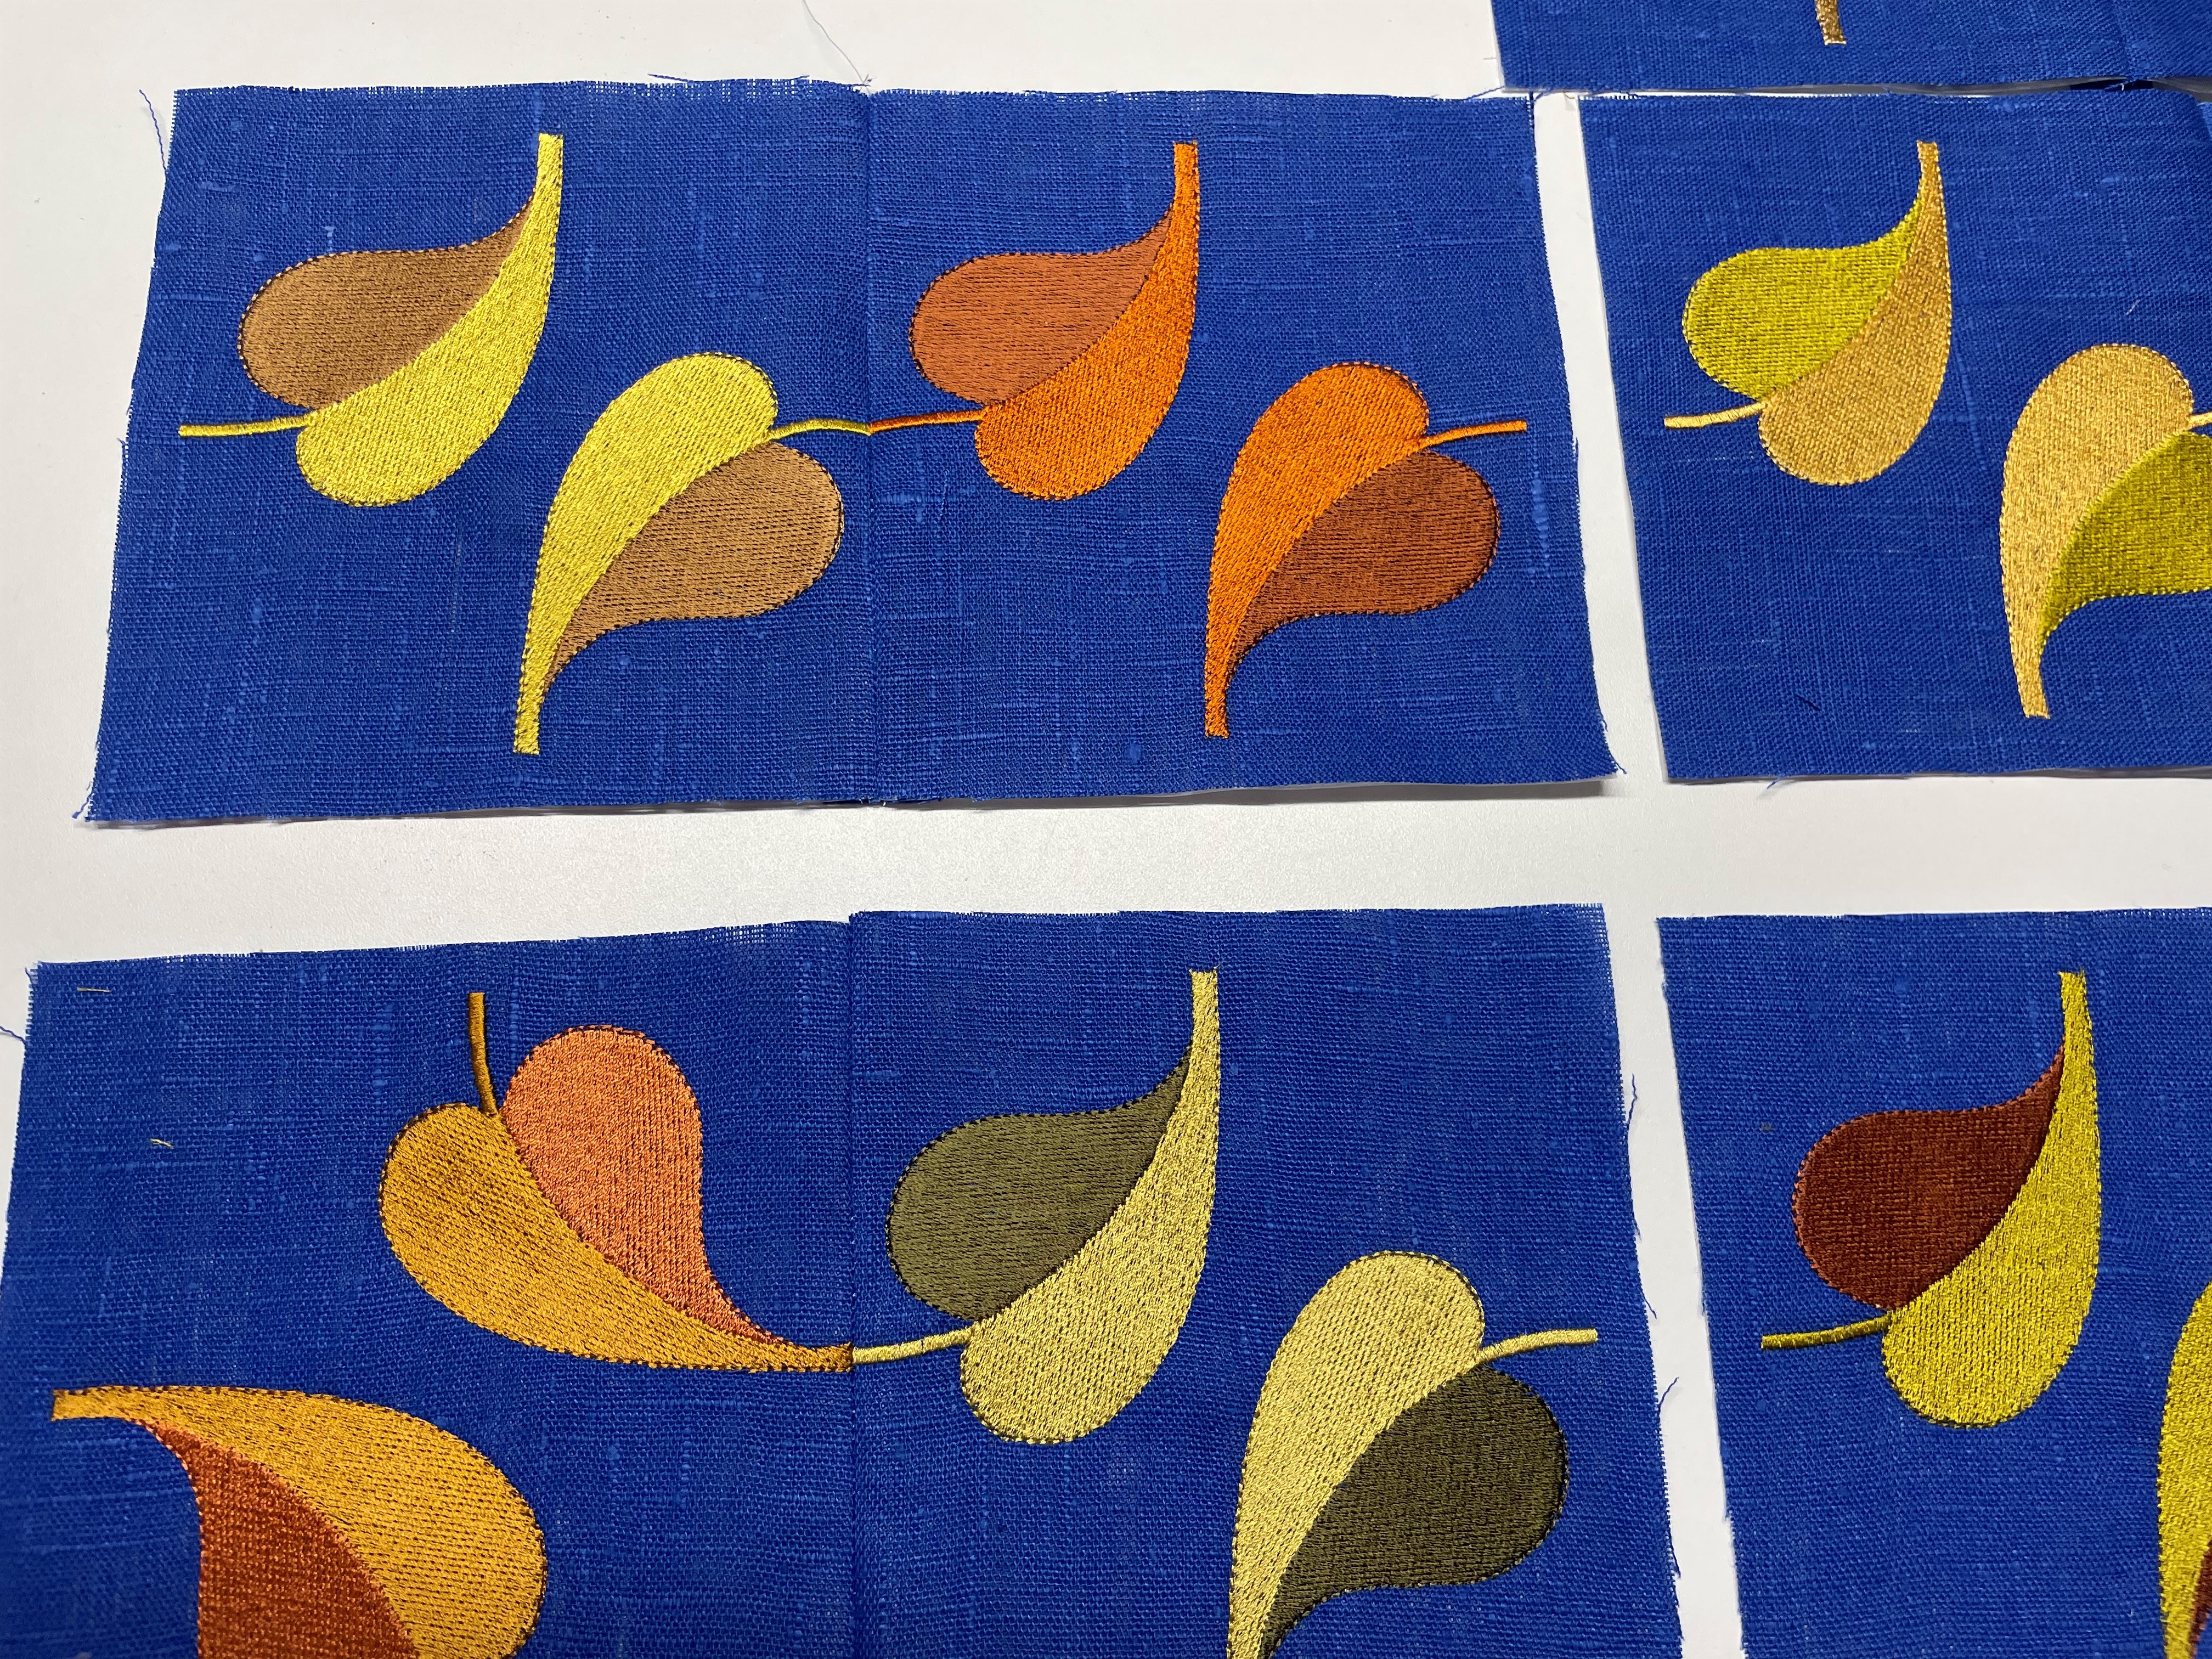
Make a total of 16 blocks, with as much color variation you like, lay the finished blocks out to the desired pattern. You can follow the picture or create your own autumn breeze!
Sew the blocks together
Pin two blocks together, taking care to match the embroidered stems at the edge.
Sew them together just inside the basting line. Tear away the stabilizer in the seam allowance only, the remaining stabilizer helps with stability now and will be removed in a later stage.
When all blocks are paired together, continue to add them into four patches and finally bring the whole quilt together.
Remove the stabilizer from the blocks in the middle. The rest of the stabilizer will add stability when attaching the frames and will be removed later.
Adding frames
Cut out three strips 5” (12cm) wide, fold the first strip in half and measure the length of the frame. It is important to measure in the middle of the quilt. The edges have open seam allowances and are more inaccurate than the center. Attach the frame pieces and stitch to the upper and lower edge of the quilt.
Repeat with the other sides.
Remove the remaining tearaway stabilizer from the quilt
Quilting
Fuse the batting to the wrong side of the quilt and attach the backing fabric. Pin or glue all layers together
Quilt close to the edges of the leaves. Use the freehand stitch or straight stitch method. Use a thread that coordinates with the background fabric. This will make the leaves stand out from the background.
Hanging sleeve corners
Cut out four squares 8”x8” (20x20cm) and fold them diagonally. If you wish you can make an embroidered label on one of the corners.
Pin a triangle in each corner, raw edges to the outer edge
Binding the quilt
Cut four strips 2 ½” (6,5cm) wide. Join them together diagonally.
On the back of the quilt, start in the middle on one side, leaving a 6” (15cm)tail for joining later.
Sew with ⅝” (1,5cm) seam allowance, stop ⅝” (1,5cm) from the corner.
Sew diagonally at 45 degrees angle out into the corner. Cut thread.
Fold the strip up and then down along the next side, see pictures for clarity.
Start sewing from the edge and stop ⅝” (1,5cm) from the next corner. Repeat on the next two sides.
To join the edges stop about 6-8” (15-20cm) from the starting point.
Lay the strips on top of each other and cut the top strip 2 ½” (6,5cm) from the overlap.
Join the edges diagonally and finish the seam.
Turn right side of quilt up. Turn the raw edges to the quilt side, then turn again and pin in place, be careful to cover the previous seam.
In the corner, fold the edge up and to the end and from the next side, fold the corner in forming a mitered corner.
Stitch the binding close to the edge
Hanging rod.
Measure the distance between the two corners on top of the quilt. Cut a wooden hanging rod to match the length and hang your quilt!